The slides will always be at https://goo.gl/rMF67j:

A video of the presentation is at this link - sorry the audio is painful.
Processing?
I know .. it's a really bad name, which causes all sort of confusion. But Processing is a language designed to make it easy for artists to create digital art.Their own website says it best:
- Processing is .. a language for learning how to code within the context of the visual arts.
- Since 2001, Processing has promoted software literacy within the visual arts and visual literacy within technology.
- There are tens of thousands of students, artists, designers, researchers, and hobbyists who use Processing for learning and prototyping.
The Web
Processing is normally run using software you have to install - needed to create art and also to view it.These days, however, the web is the place to present your work - because the internet and the web is the common and open platform that everyone can access using all kinds of devices, smartphones, tablets, laptops and browsers .. and no need for any extra special software at all. Just a browser.
That's why the Processing foundation officially supports p5.js - processing which works in a web browser, and requires no special additional software for artists creating art, or viewers appreciating it.
p5.js is simply a javascript library that allows us to write Processing code which is interpreted and creates our digital creations in a web page (a Canvas if you know about making web pages).

Building Blocks
The tutorial was intentional designed to be an gentle accessible introduction for non-technical artists - with content chosen to give a good enough overview of the key concepts and some useful building blocks to enable artists to go on and try coding their own ideas.I personally, was really pleased that most people say they weren't technical .. and some people had never written computer code before!
Within 20 minutes they had written their first code and created a digital image!
 |
| great vibe creating digital art |
Skeleton Code
The first thing we did was look at the basic skeleton of processing code - two functions, one which sets up the work surface - setup(), and the other - draw() - which creates the actual shapes, colours, and maybe even animation.
Almost all Processing programs have this foundation. We just need to fill in the gaps.
Coordinates and Shapes
To creates shapes on a computer, we need to describe them in a fairly precise way. That means defining their exact location and size ... which means remembering how coordinates work. This is familiar, as we're all comfortable with the idea of map grid references which work in the same way.We then had a look at creating rectangles, ellipses and circles.

Everyone had a go at trying exercises themselves - after being shown the idea first. That works well because the tasks are easy, small, and has the benefit of activating the hands-on learning process .. without taking up too much time.
We also came across the idea of variables, names which actually refer to something else, often a number. In the above example, we found that Processing automatically creates the width and height variables for us, setting them the width and height of the canvas. This means our code doesn't need to know the size of the canvas explicitly .. and so our art can be made to fit into all kinds of canvas sizes and proportions.
Repetition in Art
We looked at some examples of digital art and saw that repetition was a key element. Whether it was repeated rectangles in art created way back in 1966 (using plotters, not printers) .. or more recently creations with more random organic elements .. there was a strong theme of repetition with variation.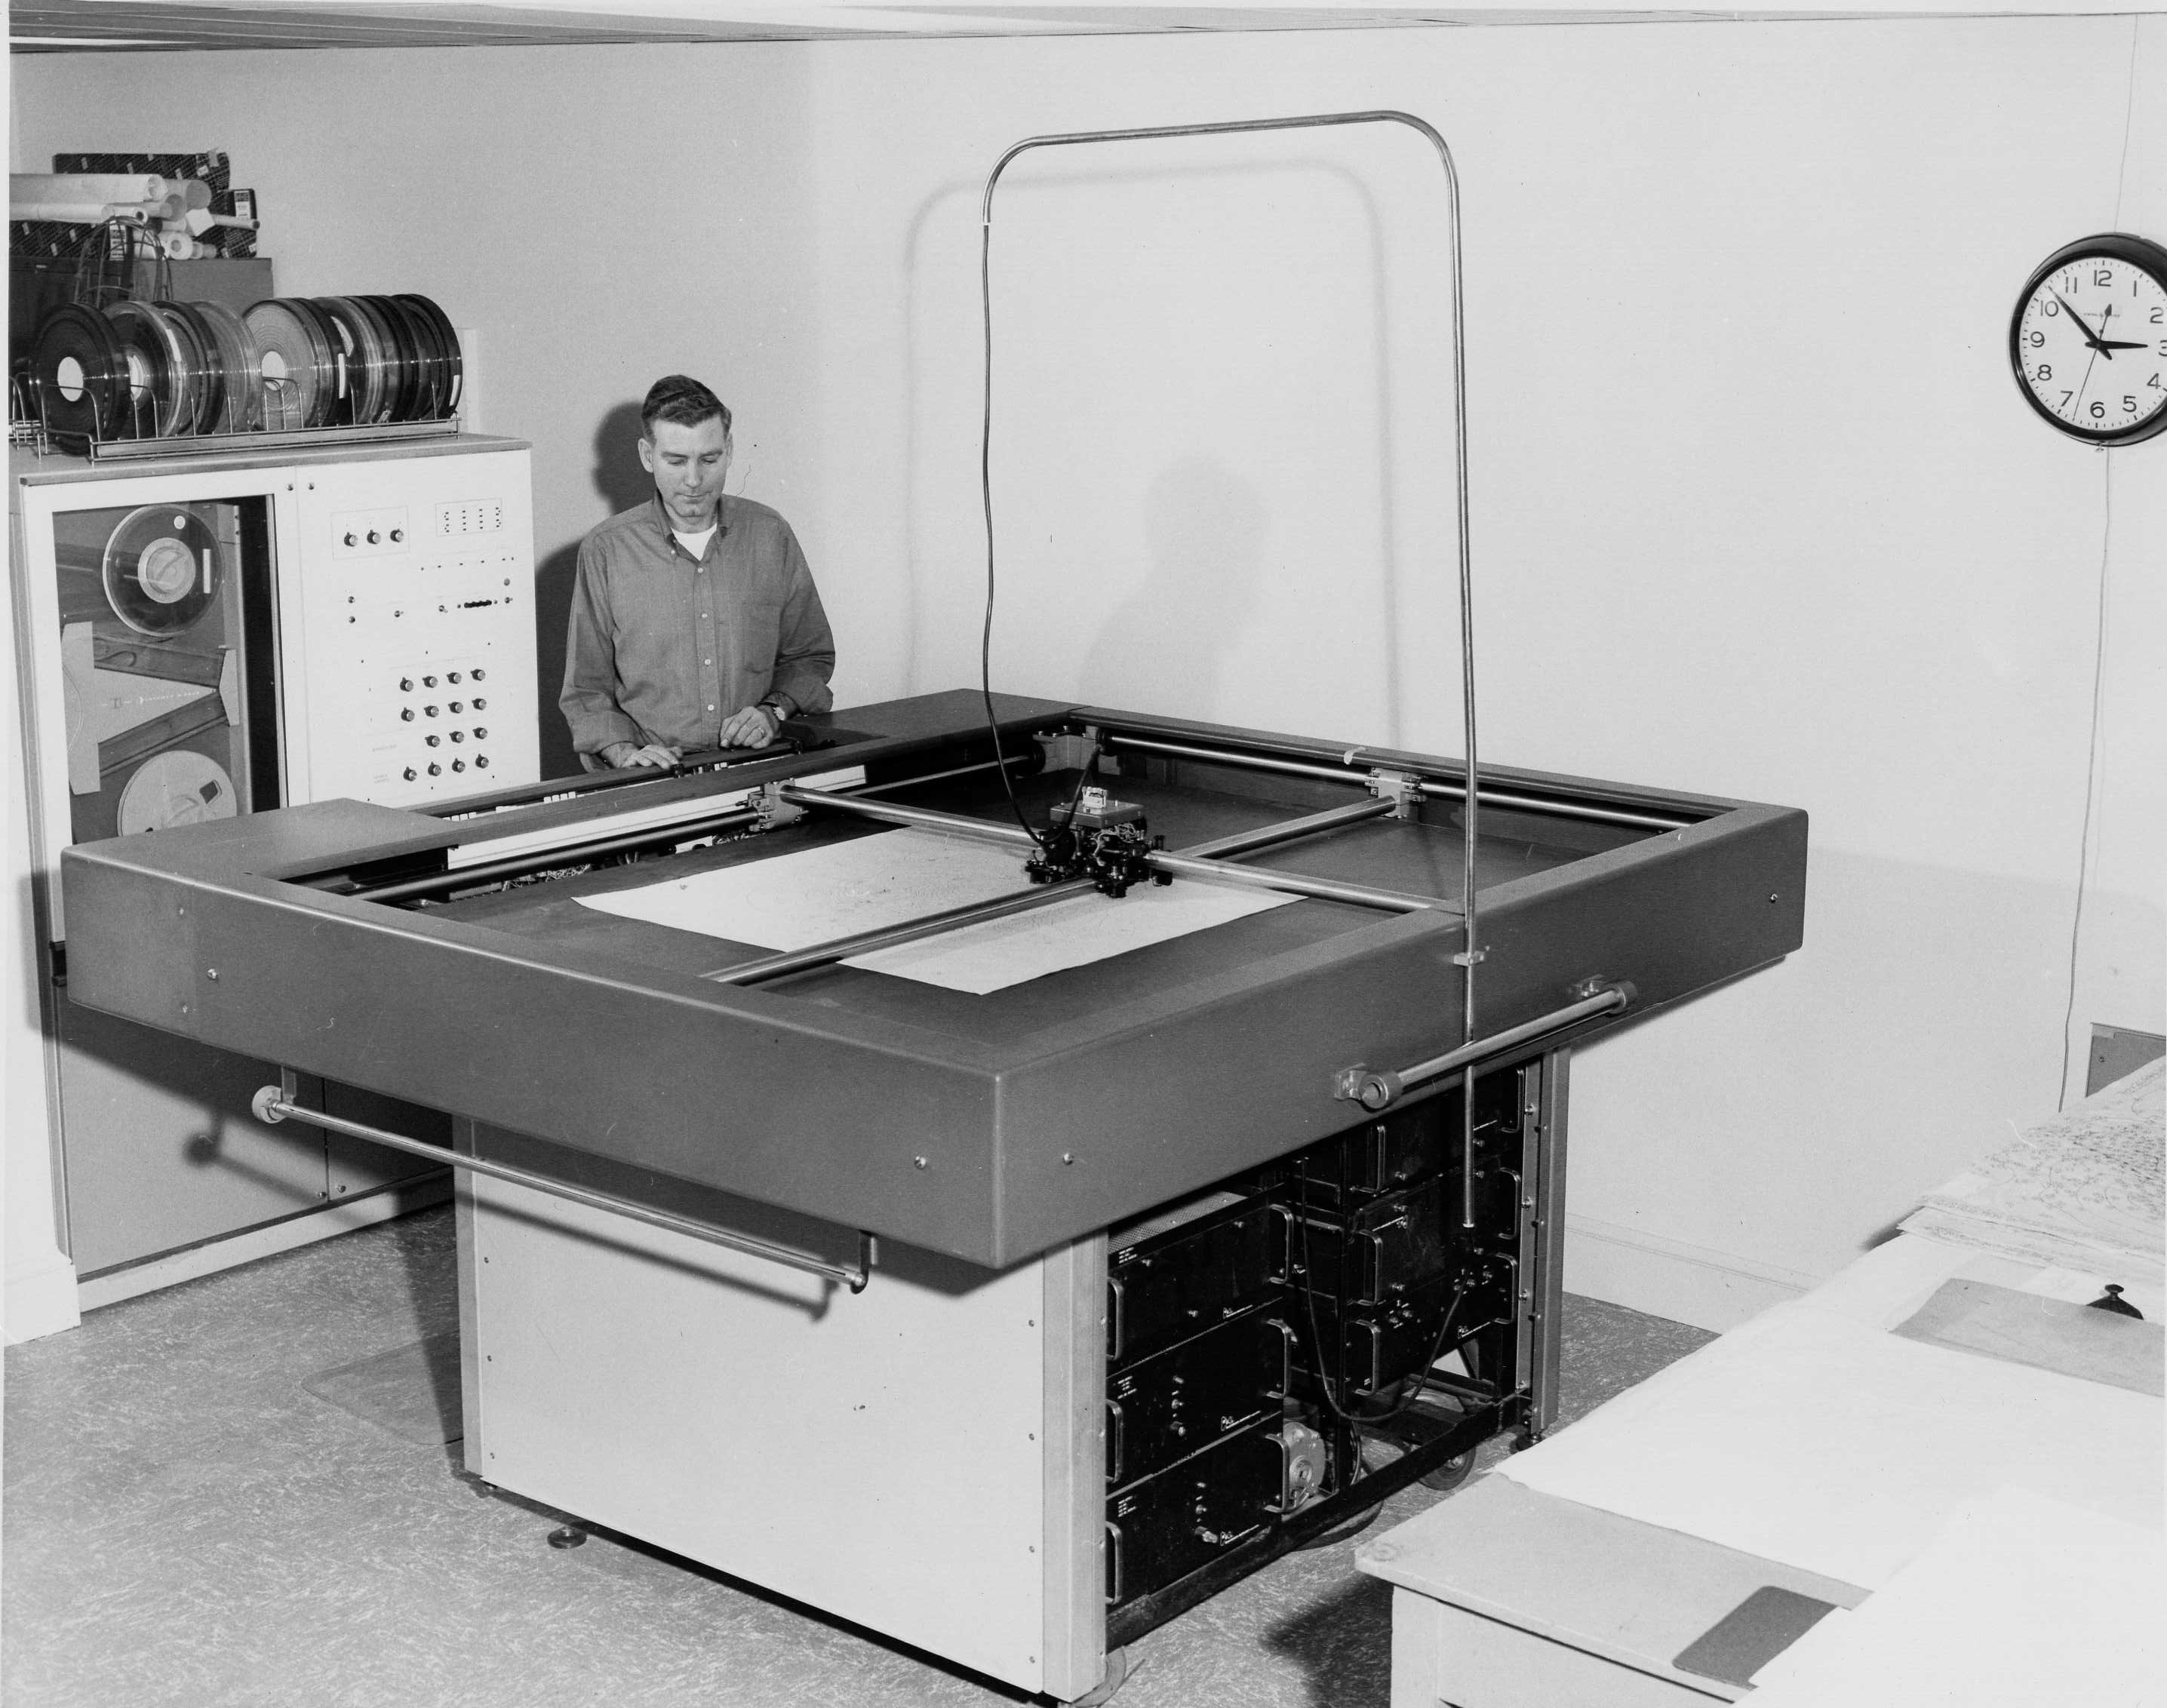

Repetition plays to the strengths of computers - they don't get bored, and can do repeated tasks lots of times. A perfect match!
We looked at how to construct repeated tasks in Processing .. the form is called a loop. Things started to get more interesting, as our creations became more complex than a simple circle or rectangle. We even looked at loops within loops!
Colour and Strokes
To enrich our works we looked at colour and stroke (line) .. how to describe the colours we want to use, and how thick the lines should be.We saw that there are at least four ways of describing colours - simple greyscale, red-green-blue combinations, and a really cool thing - transparency, as well as using the name of a colour if it has been given one, see here for a list.

Magic - Or Using Location To Decide Colour
The next part started to reveal some of the real magic of coding digital art. What if we decided the colour of our circles based on their location (horizontal x, and vertical y)?The results are really cool, with such simple ideas as setting the colour using some combination of x or y, we get a lot of art in return. Everyone was encouraged to experiment and try their own variations. Here's an example.

You can see that the fill colour of each circle is determined by its horizontal location .. and also it's outline stroke colour too. It's kinda Bridget Riley!
This section was fun, had a lot of visual return from a simple idea... and crucially, it plants the seed of a very powerful idea. The use of parameters (like location) to decide other things like colour .. an idea that's used loads and loads in digital art.
Functions - Reusable Recipes
Continuing with this theme of offloading repetitive work onto the computer, we looked at functions. That word, function, might sound strange but really its just a way of packaging up code so it can be used again and again.And what's really powerful, is that we can pass information to a function, which it can use to vary what it does. That's a simple idea but very powerful.
In class we slowly built up a function, called flower(), which first simply plotted a circle at a given location with a given size. We saw that we could repeatedly invoke flower() with different locations and sizes, and saw that we had multiple circles plotted. We then saw that changing the function to add petals, magically (not really magic!), resulted in all those circles now having petals ... demonstrating the power of functions!

Mad Crazy!
Things got really crazy next. What if a function could call itself.... |
| what if a function could call itself ... |
Bonkers! But we saw how simple it was to do ... and again, this idea of simple and rather elegant recursion, leads to really rich forms.. (click to enlarge) ..

For me, and many others, the supreme simplicity of the idea and code .. creating such intricate forms .. is why we are in love with algorithmic art! Pure tingles!
By simply adding circles above and below the main one, in addition to the left and right ones above .. recursion leads to the following form .. (click to enlarge).

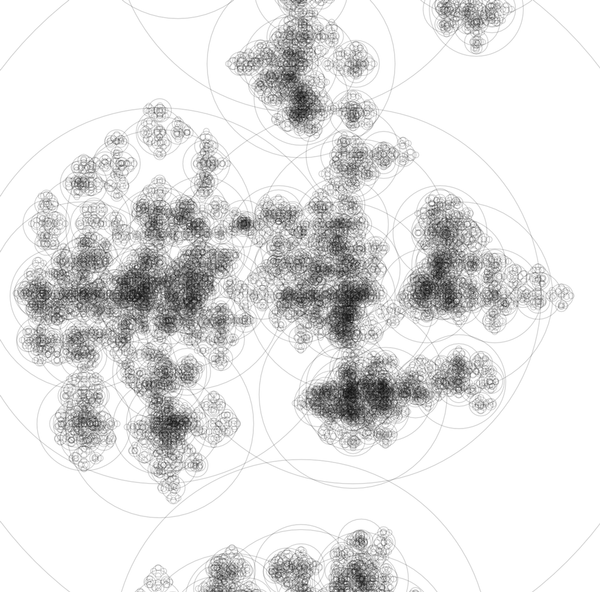
Adding Randomness
The excitement's not over yet. So far many of the forms we've created are rather strictly geometrical. To get more organic forms, we need to add an element of randomness. That's easy in Processing .. and modifying the code that created the above circles to adjust the location by a small random amount leads to some rather intriguing natural forms. Click to enlarge. |
| natural forms |
Motion
Finally we talked about motion or animation. The core idea is the same as films - we create stills, which when seen in rapid succession, create the illusion of motion.
Luckily, Processing makes this easy. The draw() function we saw right at the start, is actually called again and again, as fast as your computer will go. Someone asked whether this would burnout the battery .. it shouldn't but you can control the refresh rate if you want to.
We can combine the ideas we developed above to create motion - the idea of using parameters to decide where an object is placed, and maybe what colour it has too if we're being really exploratory!
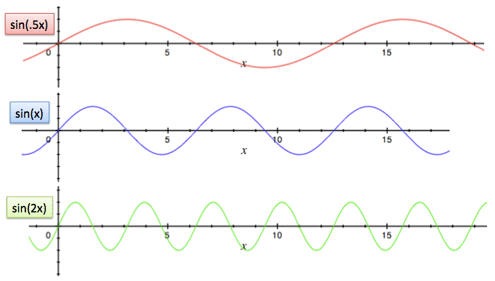
The very first example just had a ball moving down because it's vertical position was being incremented at every frame. Not that exciting. The next step was to make use of a mathematical function called the sin() function, which you may remember from school. It's a nice function for art because it gives us smoothly varying numbers if we feed it a incrementally growing sequence. Here's a ball whose vertical position is decided by the sin() function.

That motion feels really natural .. and it shows clearly that maths doesn't have to be a dry robotic thing .. it can be organically random with kinda-realistic movement.
The class had great fun experimenting and creating forms that evolved over time. Here's one I did, which I like:
Class Gallery
I was really pleased that some of the class, non-technical and having never coded before, had created their own digital art.Here are some of the works that the class created, ... inspired by the class and group vibe!


Amazing work!
Feedback
A few of the more experienced members suggested I use something like codepen or open processing.org to make it easier to code online and share works .. a great idea! Thanks!I'm really happy that most people seemed to get something from the class to take away .. and that the class was informal, friendly and fun ... a nice vibe!
